Finding a Gyromite Famicom Adapter
If you’ve ever wanted to start importing Famicom games and play them on your NES you’ll find that not only do the cartridges have completely different dimensions, but the number of pins on the contained boards are completely different as well. To play them you’ll need a Famicom to NES adapter. The simplest solution would be to find an adapter that let’s you connect the Famicom cartidge directly to the adapater, without disassembly, such as the Honey Bee. The only problem with these solutions are that they can be hard to come by and expensive.
When the NES was first being produced in the United States, they actually used some of the boards from the Famicom cartridge games, along with Nintendo’s own adapter, inside a standard NES cartridge shell. Only until recent years few people actually knew they were there. The good news is that these are much easier to find and at a good price. In my opinion, the best source for these adapters is in the original Gyromite cartridges. Here I will show you how to find the Gyromite Famicom adapter.
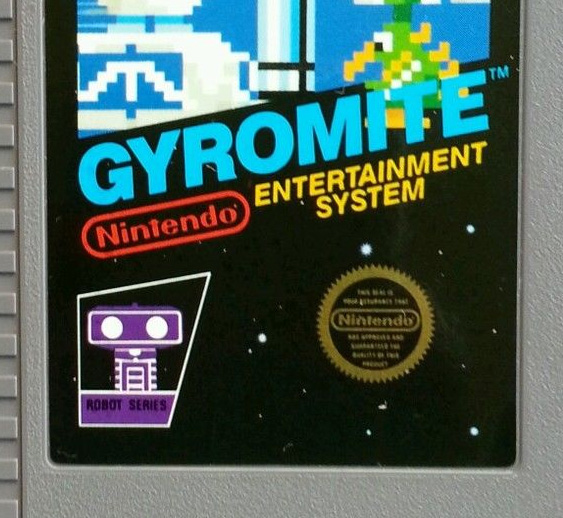 Front Label
- On the front of the cartridge, make sure there is no ® symbol at the end of where it says “Entertainment System”.
- The “Robot Series” icon in the bottom right corner should be purple with a blueish hue. If you’re able to compare this to a non-adapter containing version you’ll be able to see the difference in color. If you’re purchasing these online it can be hard to tell depending on the camera and lighting.
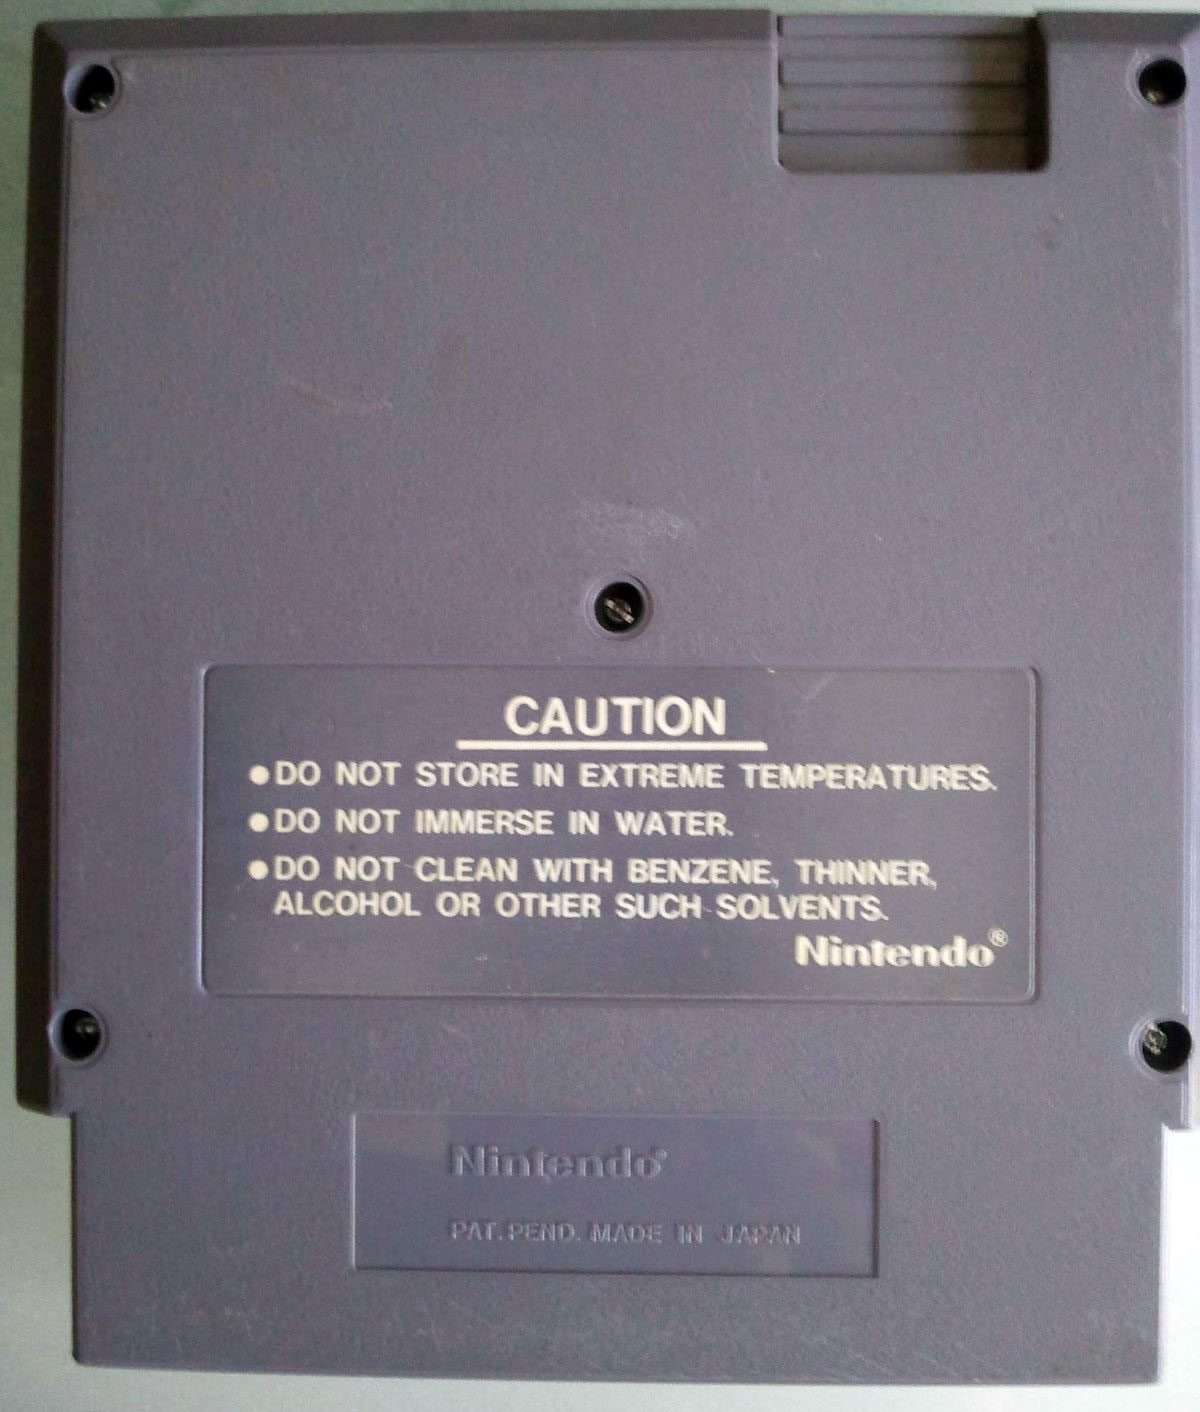 Back of Cartridge
- You should see 5 screws on the back, as opposed to the majority of NES cartridges which have 3 screws.
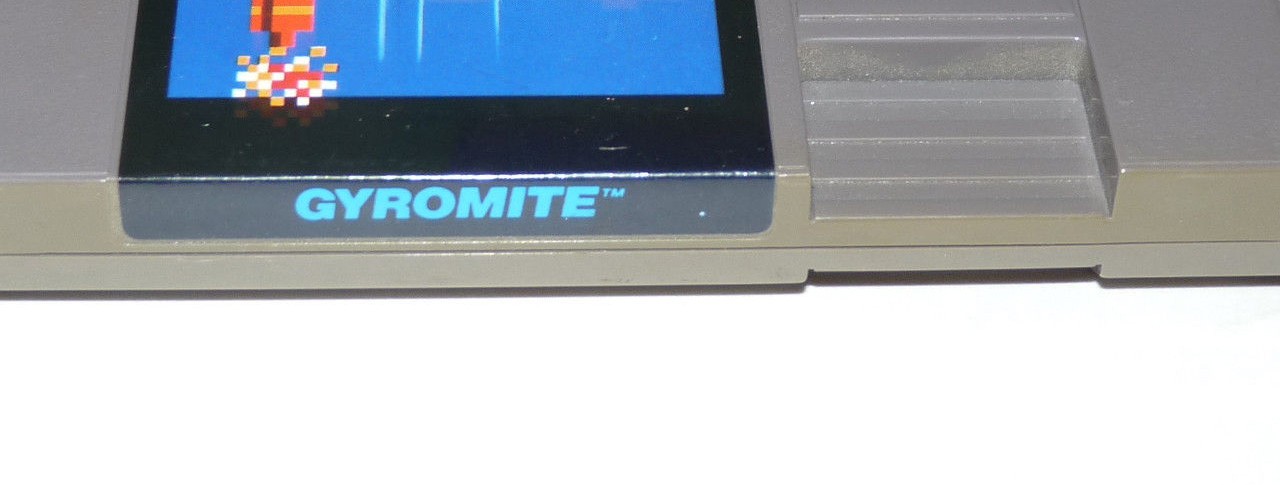
Top of Cartridge
- Since this cart has 5 screws, you won’t see the set of plastic tabs which lock the top of the cart in place on 3-screw carts, it is flat all the way across.
![]() Pin Connectors
Pin Connectors
- If you can get a view of the brass pins on the bottom of the cartridge (where it would connect to the NES) you’ll find that each pin has a part that extrudes out. On the adapter version, these extruded areas are off-center from the other part of the brass pin, while the ones on the non-adapter version are centered.
Weight
- If you’re able to hold the cartridge in person and compare it to the weight of a non-adapter containing cart, you’ll be able to tell that this cartridge is a bit heavier and also that the weight is more balanced towards the middle of the cart.
Inside
- If you’re able to open the cartridge up, then you’ll know for sure if there’s a adapter or not as you’ll see 2 small rectangular boards inside connected by a black strip of plastic. The bottom board with the black strip of plastic is the Famicom to NES adapter.
I hope this guide helps you find a Famicom to NES adapter, and that you enjoy some great Famicom games on your NES for the first time.
is there any way to know for sure you’re buying a cart with an adapter on ebay?
One of the simplest ways to know for sure is just to send a message to the seller and ask if they can send you a clear photo of the pins on the bottom of the cart. If the seller refuses to send you a photo, then don’t buy it; there are several sellers trying to pass off non-adapter Gyromite carts at higher prices.
I ask for a photo instead of directly asking if it has an adapter because it may cause the seller to think that they need to up the price.